
Composite sheet installation
Introduction
Composite sheets are versatile building materials that have gained popularity in a wide range of construction applications. Composed of layers of different materials, composite sheets offer a combination of strength, durability, and versatility that makes them an ideal choice for various projects. Whether you’re working on a roofing project, wall cladding, or flooring, understanding the proper installation of composite sheets is essential to ensure a successful and long-lasting outcome. In this article, we will delve into the step-by-step process of installing composite sheets and provide valuable tips for a seamless installation.
Materials and Tools
Before you begin the installation process, it’s crucial to gather all the necessary materials and tools. The specific items you’ll need can vary depending on the type and purpose of the composite sheets, but here’s a general list to get you started:
Materials:
- Composite sheets
- Appropriate adhesive or fasteners
- Sealant (for weatherproofing)
- Backer material (if required)
- Flashing material (if required)
Tools:
- Measuring tape
- Utility knife
- Circular saw or shears (for cutting the composite sheets)
- Screwdriver or drill (with the appropriate bits)
- Level
- Framing materials (if required)
- Safety equipment (gloves, safety glasses, etc.)
Step 1: Surface Preparation
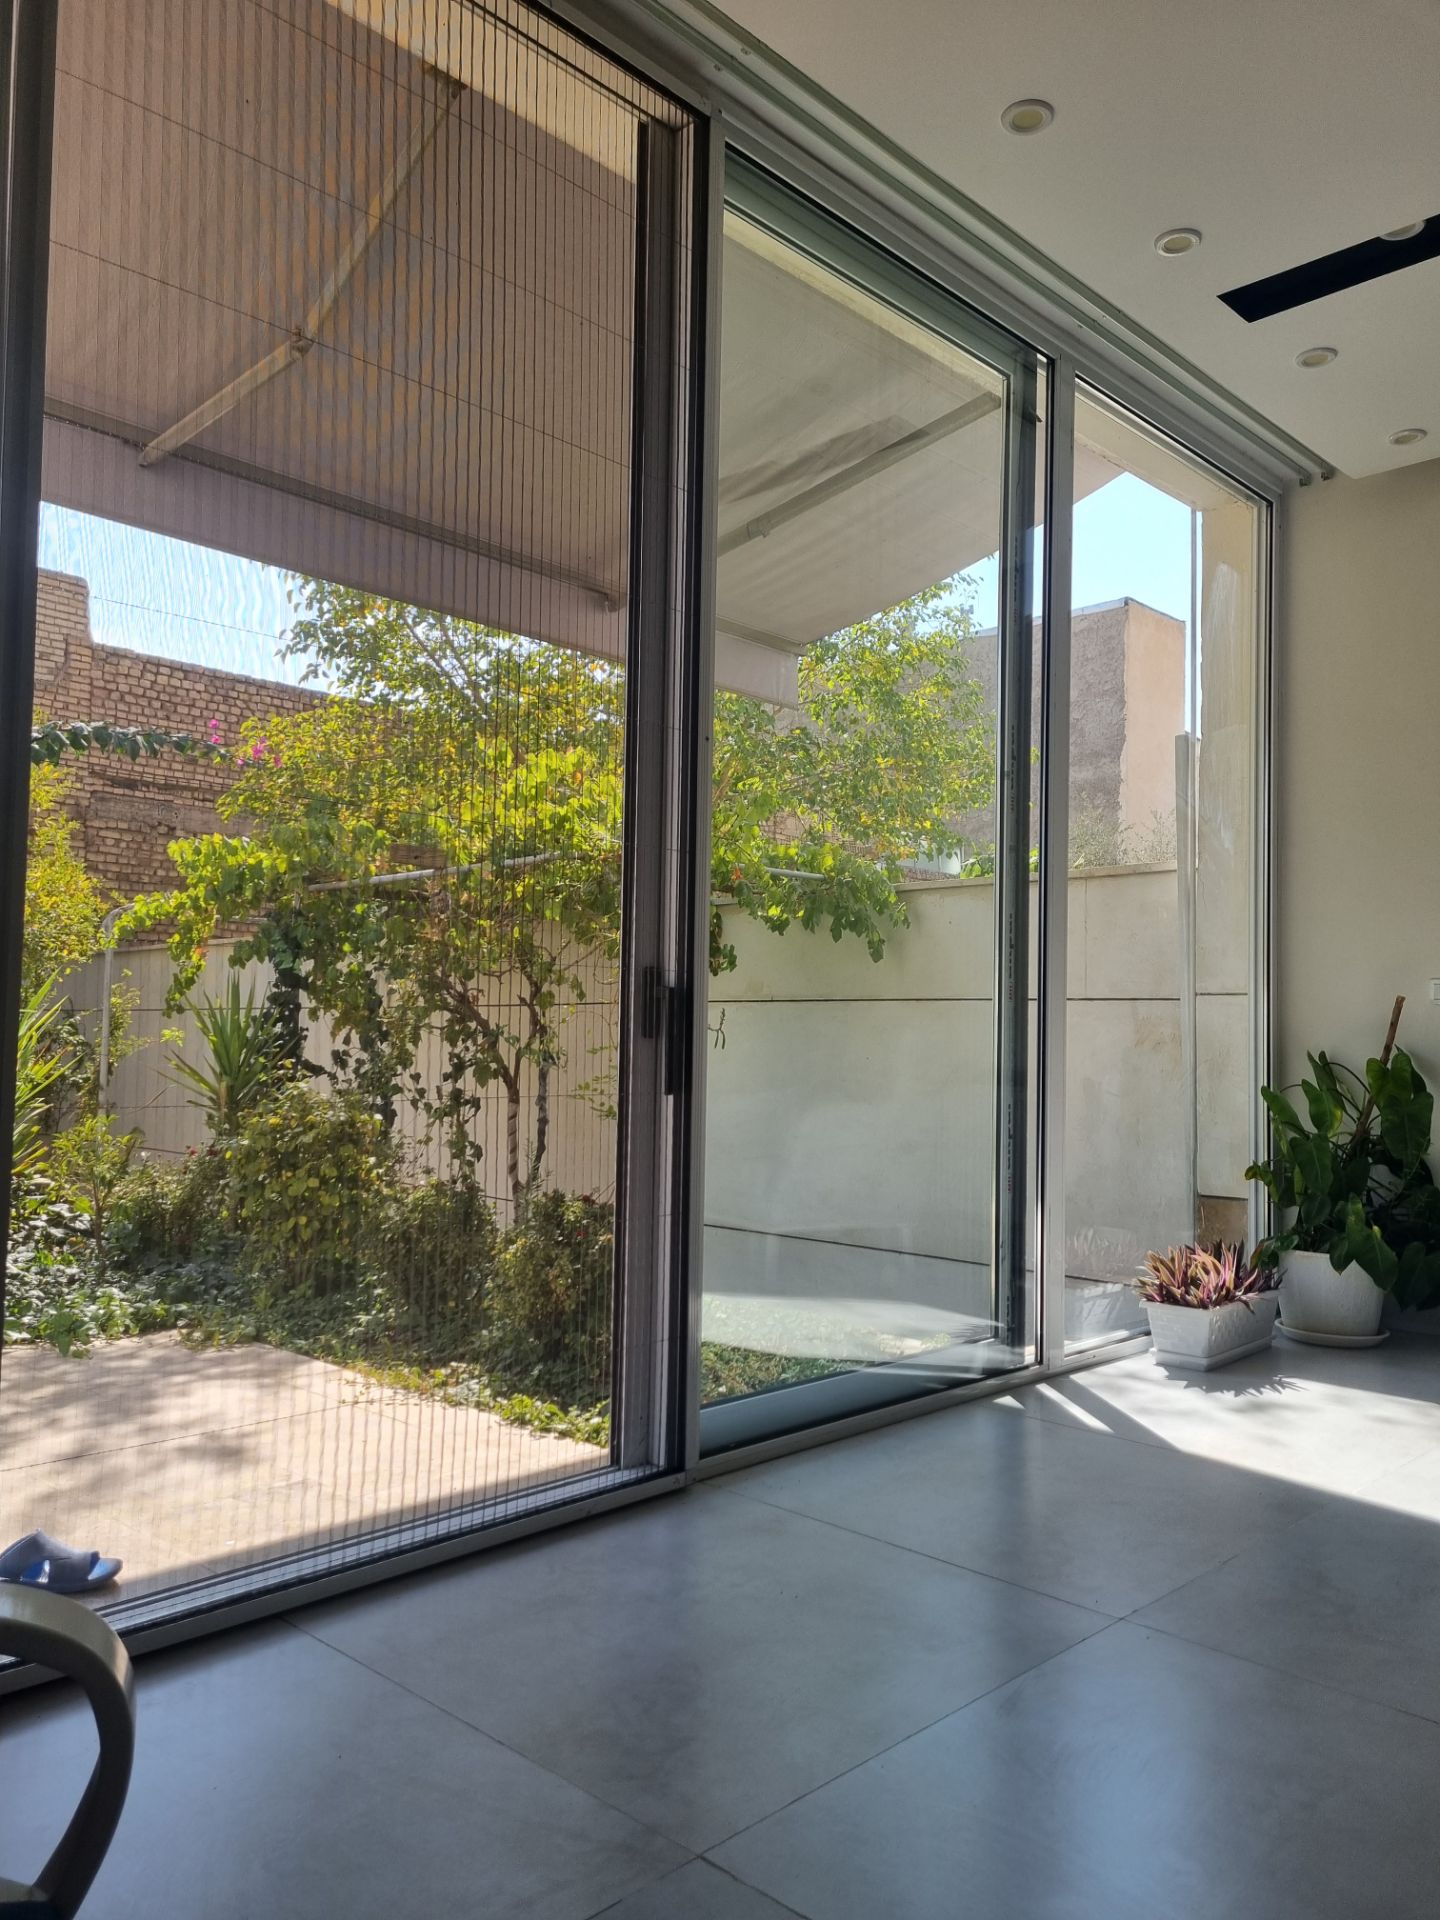
The first step in the installation process is to prepare the surface where you’ll be installing the composite sheets. Ensure that the surface is clean, dry, and free from debris, dust, and any protruding objects. You may need to create a solid substructure or framing if one doesn’t already exist, especially for applications like roofing or wall cladding.
Step 2: Measurement and Cutting
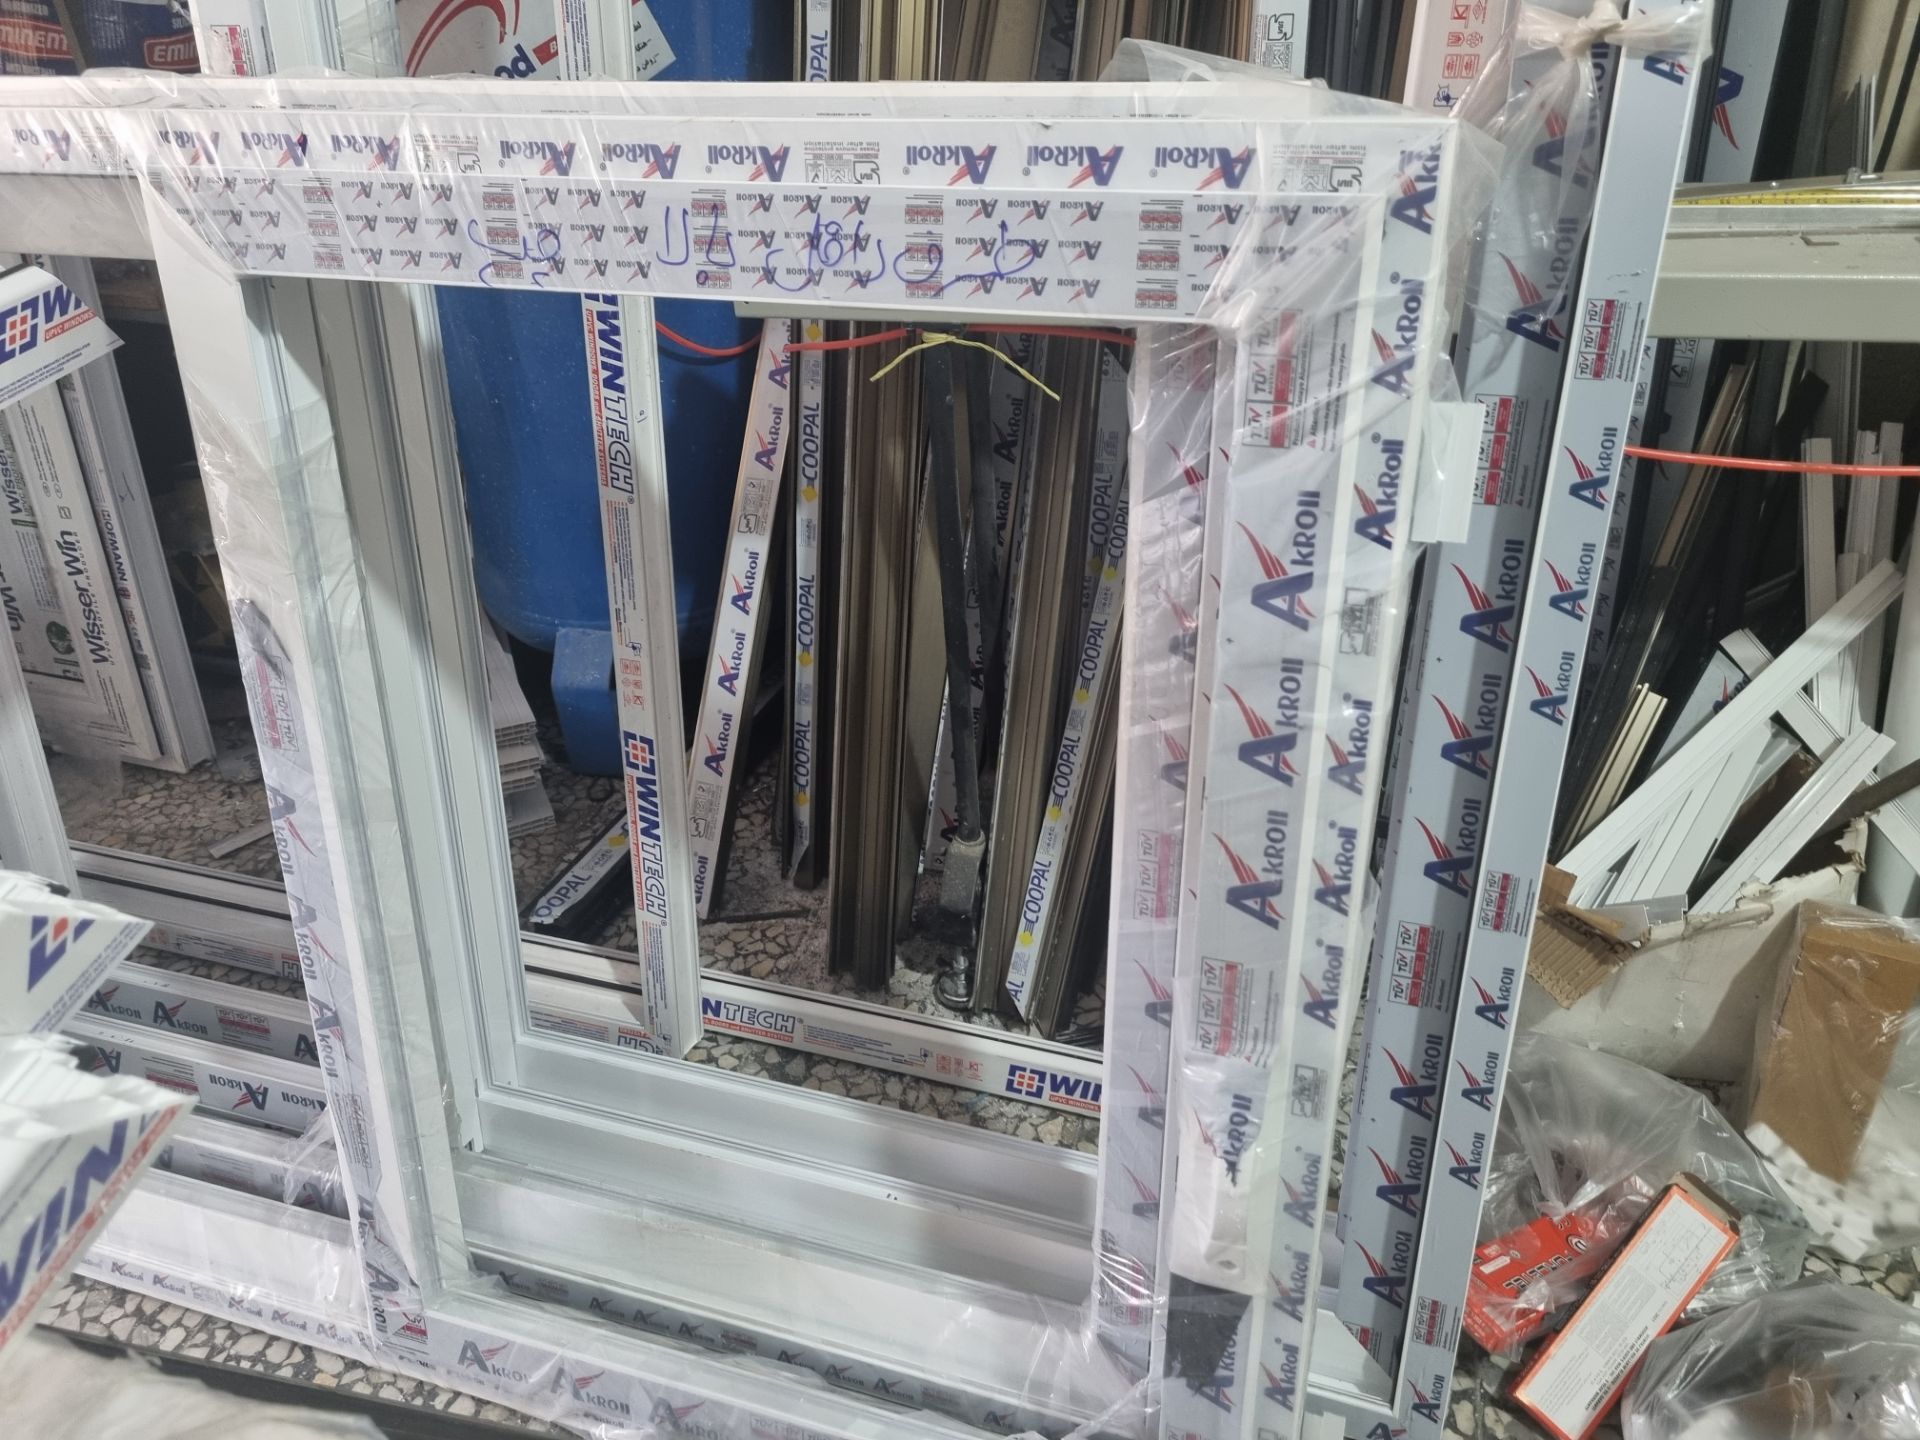
Measure the area where the composite sheets will be installed carefully. Use a measuring tape and mark the dimensions on the sheets. Ensure that the sheets are cut accurately to fit the installation area. A circular saw or shears can be used to make precise cuts. Make sure to follow the manufacturer’s recommendations for cutting composite sheets to avoid damage.
Step 3: Adhesive or Fastener Installation
Depending on the application and manufacturer’s guidelines, you can choose between adhesive or fasteners for attaching the composite sheets. If using adhesive, apply it evenly on the back of the sheet and press it into place. If fasteners are required, use a drill to create pilot holes, then secure the sheets to the substrate with screws, nails, or other recommended fasteners. Ensure the sheets are properly aligned and leveled during this step.
Step 4: Sealant Application
For outdoor applications like roofing or wall cladding, it’s important to apply sealant to prevent water infiltration and ensure weatherproofing. Apply a suitable sealant around the edges and seams of the composite sheets. This will help protect the installation from moisture and extend its lifespan.
Step 5: Flashing and Edge Detail
Depending on the specific installation, you may need to add flashing or create edge details to ensure the integrity of the composite sheet installation. Follow the manufacturer’s instructions or consult with a professional for guidance on these additional components.
Step 6: Quality Check
Once the installation is complete, carefully inspect the composite sheet installation for any defects, misalignments, or other issues. Correct any problems immediately to ensure the installation’s quality and longevity.
Step 7: Regular Maintenance
Once your composite sheet installation is complete, it’s crucial to establish a routine maintenance schedule to ensure the longevity and performance of your project. Regularly inspect the composite sheets for any signs of wear, damage, or loose fasteners. Depending on the type of composite material and the environmental conditions, you may need to clean the surface periodically to maintain its appearance and functionality.
Step 8: Safety Precautions
Safety should always be a top priority when working with composite sheets. Make sure to use the appropriate safety equipment, such as gloves and safety glasses, during the installation process. If you’re working at heights or in challenging conditions, take additional safety measures, like fall protection equipment, to prevent accidents and injuries.
Step 9: Professional Assistance
While many individuals and contractors can successfully install composite sheets, some projects may require professional expertise. If you’re unsure about any aspect of the installation or if your project involves complex structural requirements, it’s advisable to consult with or hire experienced professionals who specialize in composite sheet installations.
Step 10: Enjoy the Benefits
Once the composite sheets are installed and maintained properly, you can enjoy the numerous benefits they offer. These benefits include enhanced insulation, improved aesthetics, durability, and resistance to environmental elements. Whether it’s a composite roofing system providing energy efficiency or composite wall cladding elevating the appearance of your building, you can relish the advantages for years to come.
In conclusion, the installation of composite sheets can significantly enhance the performance and aesthetics of various construction projects. By following the steps outlined in this comprehensive guide and ensuring proper maintenance, you can achieve a successful installation that will stand the test of time. Remember to consult the manufacturer’s guidelines and, if needed, seek professional assistance to ensure the best results for your specific project. With proper installation and care, composite sheets can add value and longevity to your construction endeavors.


Leave A Comment